There is something utterly magical about the cozy flavors of winter holidays wrapped up in a delightfully crunchy treat, and that’s exactly what this Peppermint Bark Rice Krispie Treats Recipe delivers. Imagine crispy, buttery cereal squares swirled with luscious melted marshmallows, then generously layered with creamy white chocolate loaded with festive peppermint bits. This treat is the perfect balance of sweet, crunchy, and minty freshness that will instantly become your new favorite holiday indulgence. It’s simple enough to whip up after a busy day yet dazzling enough for gifting or party sharing. If you love the classic Rice Krispie treats but crave a seasonal twist, consider this Peppermint Bark Rice Krispie Treats Recipe your new go-to.
Ingredients You’ll Need
You don’t need a pantry full of fancy items to create this festive treat. Each ingredient plays a crucial role in delivering the perfect texture and flavor harmony—from the marshmallow’s sticky sweetness to the crunch of the cereal and the minty coolness of the peppermint bark.
- Rice Krispies cereal: The crispy, airy base that gives these treats their iconic crunch and light texture.
- Marshmallows: The glue that binds everything together, providing that soft, chewy goodness which creates the perfect contrast to the crunch.
- Unsalted butter: Melts into the marshmallows to add richness and smoothness throughout the mixture.
- White chocolate chips or melts: Adds creamy sweetness and the ideal surface for the peppermint pieces to stick to.
- Crushed peppermint candy or candy canes: Infuses delightful mint flavor and festive flair with vibrant red flecks.
How to Make Peppermint Bark Rice Krispie Treats Recipe
Step 1: Prepare Your Workspace and Ingredients
Grease a 9×13-inch baking pan lightly with butter or nonstick spray to ensure easy removal of your treats later. Measure out the Rice Krispies cereal, and have your marshmallows and butter ready nearby for a smooth workflow.
Step 2: Melt Butter and Marshmallows
In a large saucepan over low heat, melt the butter completely. Add the marshmallows and stir frequently until the mixture is silky and fully smooth. This step is where the magic starts—achieving a luscious, sticky base that will hold the crispy cereal together beautifully.
Step 3: Mix in the Cereal
Remove the saucepan from heat and immediately stir in the Rice Krispies cereal. Gently fold the cereal into the marshmallow mixture, making sure every crunchy piece is coated evenly without smashing them too much. This will preserve that wonderful, airy crunch.
Step 4: Press Into the Pan
Transfer the cereal mixture into your prepared pan and press it down firmly and evenly using a greased spatula or lightly buttered hands. This step ensures your treats hold their shape and slice neatly once cooled. Let this base cool completely before adding the peppermint bark topping.
Step 5: Prepare Peppermint Bark Topping
While the base cools, melt the white chocolate chips gently—either using a double boiler or microwaving in short bursts with stirring. Once melted, fold in the crushed peppermint candies so they are evenly distributed but still maintain some crunch.
Step 6: Add the Peppermint Bark Layer
Pour the melted white chocolate and peppermint mixture over the cooled Rice Krispie base. Spread it evenly with an offset spatula to create a smooth, festive layer that hardens into the signature peppermint bark finish once set. Pop it into the refrigerator to set fully, about 30 minutes.
Step 7: Slice and Serve
Once the peppermint bark layer is firm, lift the treats from the pan using the edges of the parchment (if used) or slice directly in the pan. Cut into squares with a sharp knife. Now you’re ready to enjoy the crunchy, minty celebration in every bite of this Peppermint Bark Rice Krispie Treats Recipe.
How to Serve Peppermint Bark Rice Krispie Treats Recipe
Garnishes
For an extra pop of festive charm, sprinkle a little more crushed peppermint candy or a light dusting of powdered sugar over the top just before serving. A drizzle of melted dark or milk chocolate also adds beautiful contrast and richness.
Side Dishes
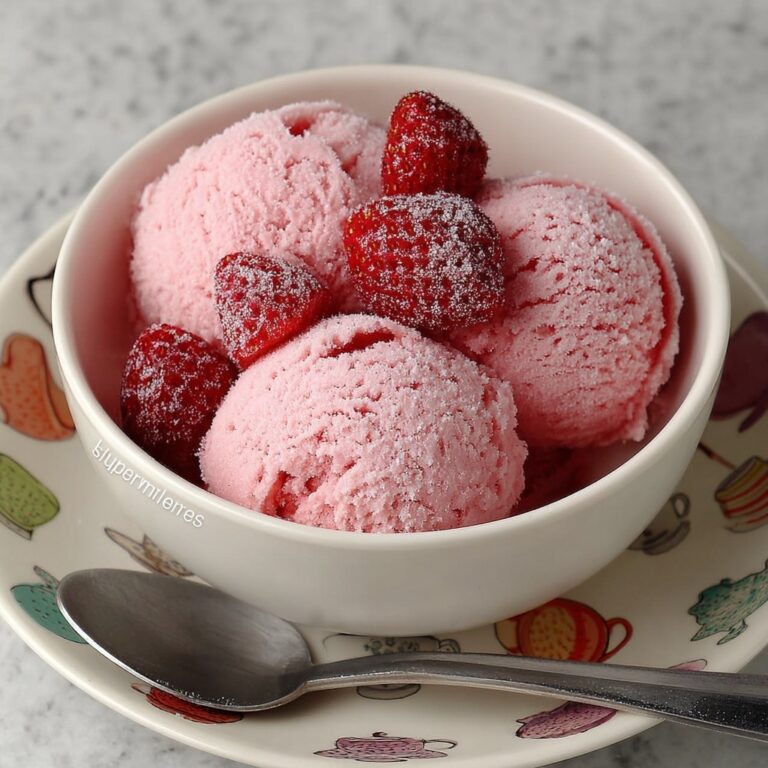
Pair these treats with a warm cup of hot cocoa topped with marshmallows or peppermint whipped cream. They also go wonderfully with a simple bowl of fresh berries, whose natural tartness balances the sweetness perfectly.
Creative Ways to Present
Wrap individual squares in clear cellophane tied with a red ribbon for charming holiday gifts or party favors. Stack them in a festive tin or arrange them artfully on a holiday dessert platter alongside cookies and fudge for a dazzling display that invites guests to indulge.
Make Ahead and Storage
Storing Leftovers
Keep your Peppermint Bark Rice Krispie Treats Recipe fresh by storing leftovers in an airtight container at room temperature. They typically stay chewy and crisp for up to five days, making them perfect to prepare ahead of time.
Freezing
If you want to save them longer, you can freeze the treats. Wrap each square tightly in plastic wrap and place them in a freezer-safe container or zip-top bag. They’ll maintain great texture for up to two months. Thaw at room temperature before enjoying.
Reheating
These treats are best enjoyed as-is, but if you find the peppermint bark has hardened a bit too much, a few seconds in the microwave can soften the white chocolate layer—just be careful not to melt it completely and lose that satisfying snap.
FAQs
Can I use mini marshmallows instead of regular-sized?
Absolutely! Mini marshmallows melt more quickly and evenly, which can make the mixing process a bit easier. Either size works well to create that perfect sticky base.
Is there a substitute for Rice Krispies cereal?
Yes! You can use any plain, crispy puffed rice cereal as a substitute. Some people love trying alternates like corn flakes or even crispy quinoa for a different twist, but Rice Krispies provide the classic texture and taste.
Can I use milk chocolate instead of white chocolate?
Of course! Milk chocolate or even dark chocolate can be melted and combined with peppermint pieces for a different flavor profile. Just keep in mind that white chocolate pairs more traditionally with peppermint bark.
How do I crush candy canes for the topping?
Place the candy canes in a sealed plastic bag and gently crush them with a rolling pin or the bottom of a heavy pan. Aim for small chunks rather than powder for the best texture.
Will these treats stay fresh if made a week ahead?
Yes, if stored properly in an airtight container, your Peppermint Bark Rice Krispie Treats Recipe will stay fresh for up to a week—perfect for making in advance of holiday parties or gifting.
Final Thoughts
There’s something truly special about sharing treats that bring out the bright flavors of the season, and this Peppermint Bark Rice Krispie Treats Recipe does exactly that. It’s simple to make, endlessly satisfying, and guarantees smiles whether you’re serving it at a cozy family gathering or gift-wrapping squares for friends. So go ahead, dive into the fun of this festive classic with a twist—and make your holiday moments even sweeter!
Print
Delicious Recipe
- Prep Time: 20 minutes
- Cook Time: 1 hour
- Total Time: 1 hour 20 minutes
- Yield: 9 servings
- Category: Dessert
- Method: Baking
- Cuisine: American
Description
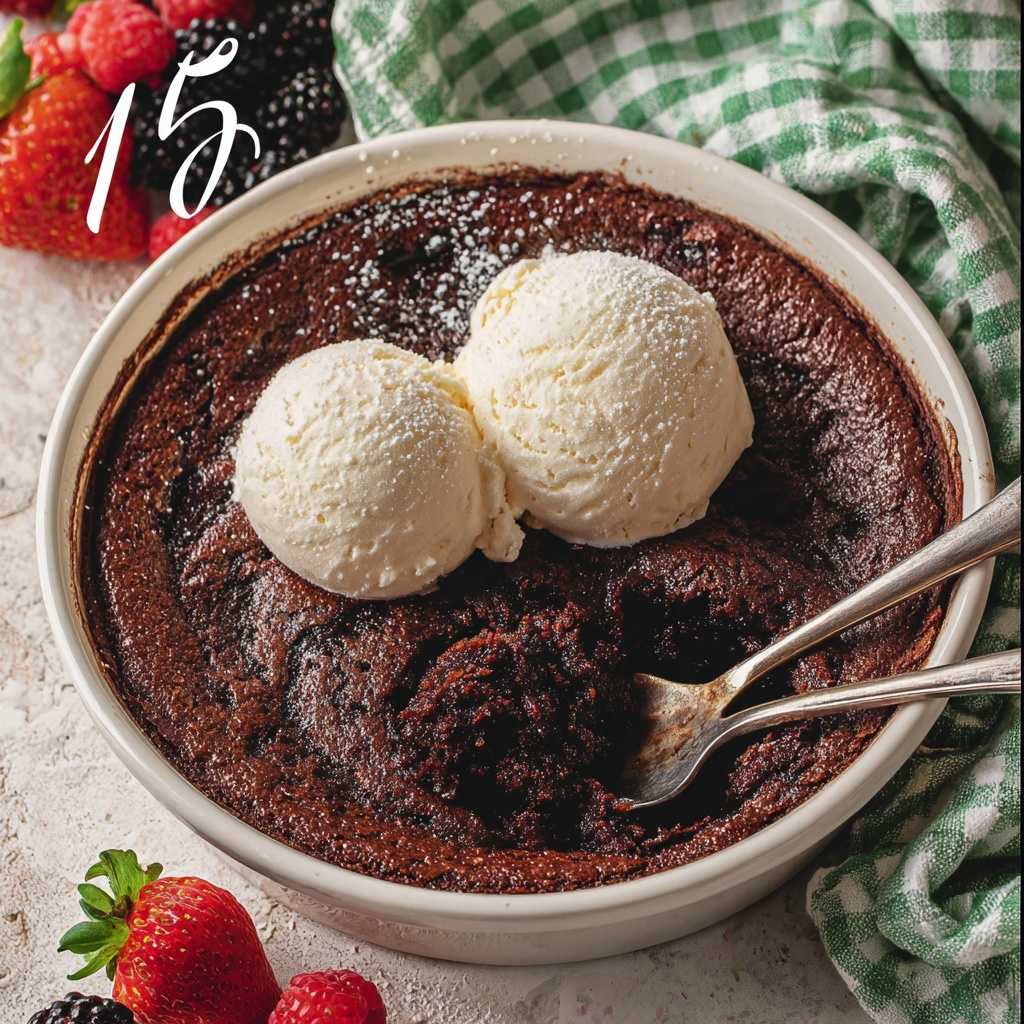
This Viral Brownie Pudding Recipe combines the rich, fudgy texture of brownies with a luscious, pudding-like center. Baked in a water bath, it achieves a moist, gooey consistency perfect for serving warm with ice cream or fresh berries. The addition of vanilla bean and optional coffee extract enhances the deep chocolate flavor, making it an irresistible dessert for chocolate lovers.
Ingredients
Main Ingredients
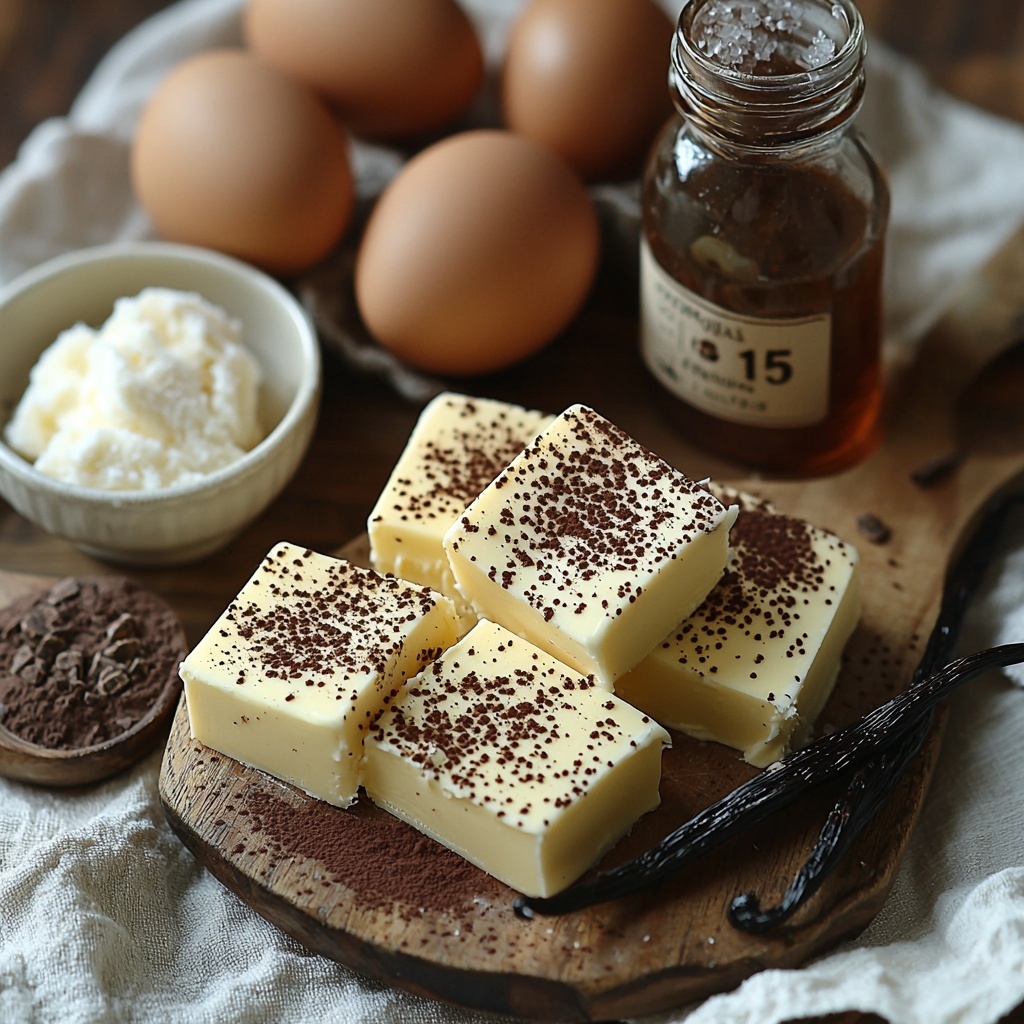
- 1 cup unsalted butter (227g, plus more for greasing the dish)
- 4 x-large eggs (room temperature, or 5 large eggs)
- 2 cups granulated sugar (400g)
- 1 vanilla bean (scraped or 1 teaspoon vanilla extract)
- ¾ teaspoon coffee extract (optional)
- ¾ cups unsweetened cocoa powder (75g)
- ½ cup all-purpose flour (65g, spooned and leveled)
- ¾ teaspoon fine sea salt
- Ice cream (for serving)
- Hot tap water (for water bath)
Instructions
- Prepare Oven and Baking Dish: Preheat the oven to 325℉ (163℃). Grease a 2-quart baking dish thoroughly with butter and set it inside a deep roasting pan or a similar large pan.
- Set Up Water Bath: Pour enough hot tap water into the roasting pan so that it comes halfway up the sides of the baking dish, providing a gentle and even baking environment.
- Melt Butter: In a medium pot, melt the 1 cup of unsalted butter. Remove it from heat and let it cool slightly while preparing the batter.
- Beat Eggs and Sugar: Using a stand mixer with a paddle attachment or a hand mixer, beat the 4 large eggs and 2 cups granulated sugar on speed 6 for 5 to 7 minutes. Scrape the sides and bottom occasionally to ensure even mixing. The mixture should become thick and pale yellow.
- Add Flavorings: Split the vanilla bean and scrape out the seeds, then mix the seeds along with the ¾ teaspoon coffee extract (if using) into the egg mixture until well combined.
- Sift Dry Ingredients: Sift together ¾ cup unsweetened cocoa powder, ½ cup all-purpose flour, and ¾ teaspoon fine sea salt directly into the egg mixture. Gently mix until just combined, scraping the bowl’s sides and bottom thoroughly.
- Incorporate Butter: On low mixer speed, slowly pour the melted butter into the batter, making sure to get all the butter from the pot into the bowl. Scrape down the sides afterward.
- Fold Batter: Using a rubber spatula, fold the batter gently for 15 to 30 seconds to fully combine all ingredients without deflating it.
- Transfer Batter: Pour the batter into the prepared baking dish and smooth the top evenly with the spatula.
- Bake in Water Bath: Place the baking dish inside the roasting pan filled with hot water and bake for 45 to 60 minutes. The brownie pudding is done when a tester inserted 2 inches from the edge comes out mostly clean, but the center remains jiggly and saucy.
- Rest and Serve: Let the pudding rest for 5 to 10 minutes before serving. Scoop into bowls and serve warm topped with ice cream. Alternatively, serve with fresh berries or a drizzle of heavy cream for variation.
Notes
- Using a water bath ensures gentle, even baking, resulting in the pudding’s characteristic moist and fudgy texture.
- If you don’t have a vanilla bean, 1 teaspoon of high-quality vanilla extract can be used instead.
- The coffee extract is optional but enhances the depth of chocolate flavor.
- Ensure eggs are at room temperature for better incorporation and volume in the batter.
- Scraping the sides and bottom of the mixing bowl during beating is important for even texture.
- The center of the brownie pudding should remain slightly jiggly when done, ensuring a gooey pudding texture opposite the firmer edges.
- Butter wrappers can be creatively reused to grease the baking dish, reducing waste.


