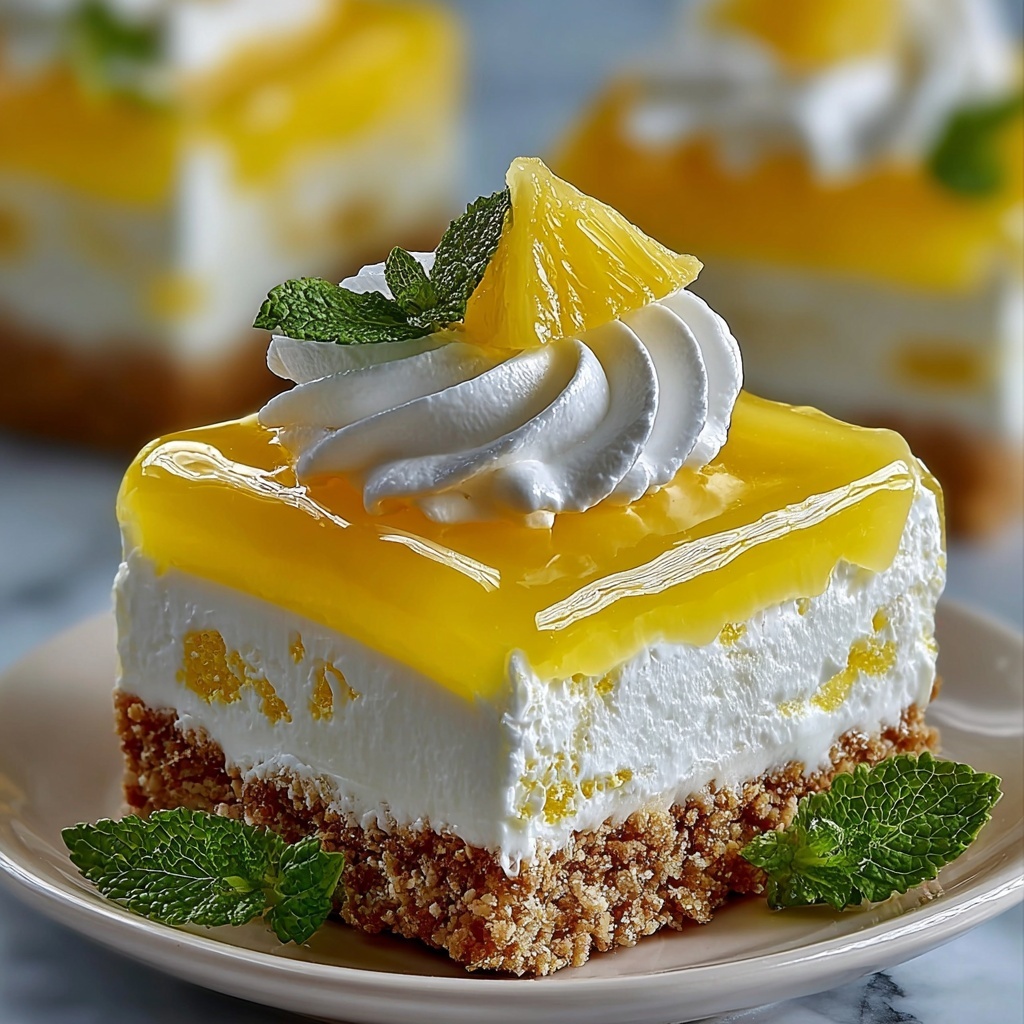
If you are craving a dessert that is refreshingly tangy yet decadently creamy, then you simply must try this No-Bake Lemon Cheesecake Bars Recipe. This treat harmoniously combines a crunchy graham cracker base with a luscious, zesty lemon cream cheese filling topped with a silky lemon glaze. Perfectly balanced between sweet and tart, these bars come together effortlessly without the need for an oven, making it a fantastic go-to dessert for warm days or any time you want to impress with minimal fuss. Trust me, once you dive into the vibrant flavors and smooth textures of these bars, they will become an instant favorite.
Ingredients You’ll Need
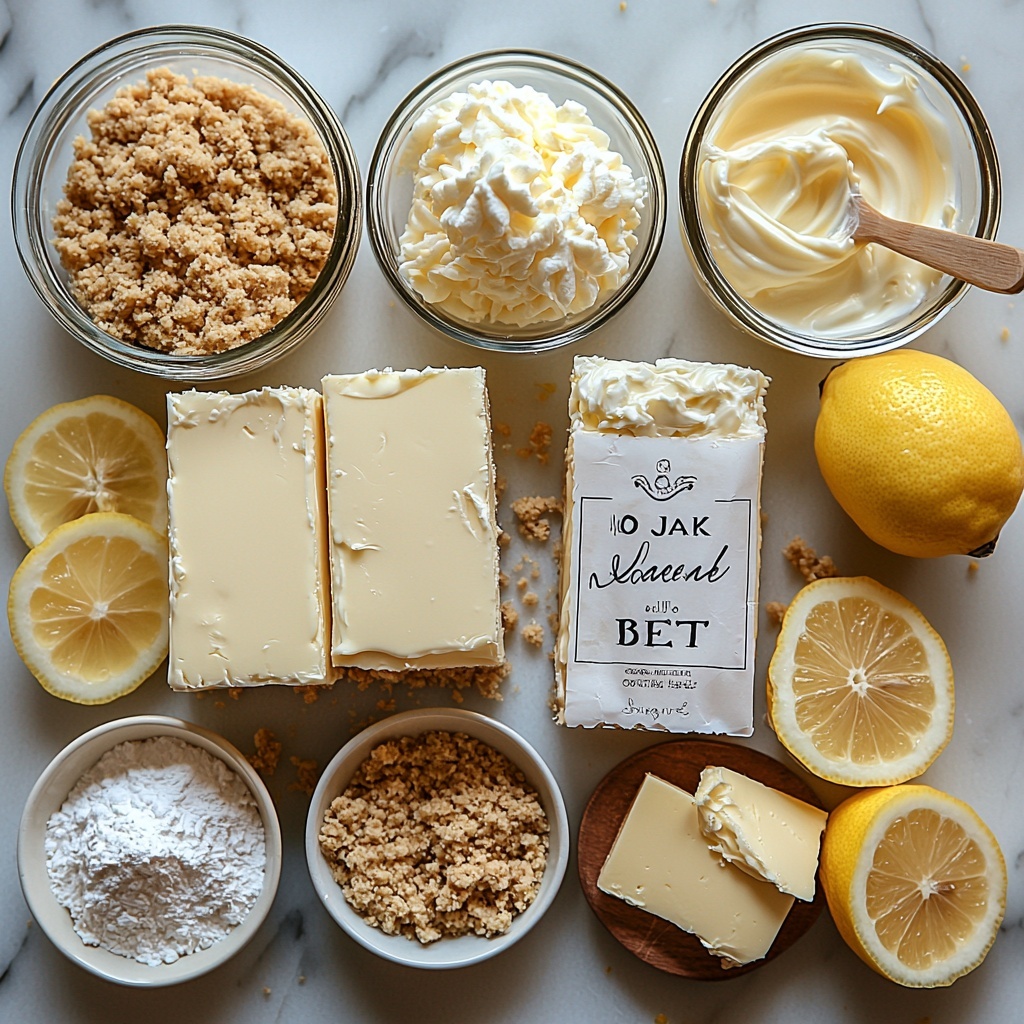
This recipe is beautifully simple, relying on a handful of classic ingredients that each play an important role in creating the perfect No-Bake Lemon Cheesecake Bars Recipe. From the buttery graham cracker crust to the tangy lemon components, every item adds a burst of flavor or creamy texture that elevates the final dish.
- Graham cracker crumbs: For a crunchy and slightly sweet base that supports the creamy filling.
- Unsalted butter, melted: Binds the crust together and adds richness without overpowering flavors.
- Cream cheese, softened: The core creamy element that forms the cheesecake’s smooth, luscious body.
- Powdered sugar: Provides sweetness and helps achieve a smooth, velvety filling texture.
- Vanilla extract: Adds warm, aromatic depth that complements the brightness of lemon.
- Lemon zest: Packs concentrated lemon flavor and fresh aroma essential for zingy deliciousness.
- Lemon juice: Offers tartness to balance the sweetness and give that classic lemon cheesecake character.
- Heavy whipping cream, whipped to stiff peaks: Incorporates air for a light, fluffy filling consistency.
- Granulated sugar (for topping): Sweetens and thickens the lemon glaze to a perfect shine and texture.
- Cornstarch: Stabilizes the lemon topping by thickening it when cooked.
- Water: Used in the lemon topping to dissolve sugar and cornstarch evenly.
- Whipped cream, lemon slices, lemon zest (for garnish): Visual and flavor enhancers that make the bars even more irresistible.
How to Make No-Bake Lemon Cheesecake Bars Recipe
Step 1: Prepare the Crust
Begin by mixing your graham cracker crumbs and melted butter in a medium bowl until the mixture holds together like wet sand. Press this mixture firmly into the bottom of a 9×9-inch baking pan to form an even, compact base. Place the pan in the refrigerator to chill and set while you move on to the filling. This chilled crust will serve as the perfect sturdy foundation for your creamy cheesecake layer.
Step 2: Make the Cheesecake Filling
In a large bowl, beat the softened cream cheese until it’s perfectly smooth and free of lumps. Gradually add in powdered sugar and continue beating until fully incorporated. Next, stir in the fragrant vanilla extract, lemon zest, and lemon juice, ensuring every bit of the mixture sings with lemon flavor. The final step for this layer is folding in the whipped cream gently, preserving its airy texture. Once blended, spread this fluffy, tangy filling evenly over the chilled crust, smoothing the top with a spatula for an elegant finish.
Step 3: Prepare the Lemon Topping
In a medium saucepan, combine lemon juice, water, granulated sugar, cornstarch, and lemon zest. Cook over medium heat, stirring constantly to prevent lumps, until the mixture thickens and turns translucent. This luscious lemon glaze will add a glossy, citrusy layer that perfectly complements the creamy filling beneath. Remove from the heat and let it cool slightly before carefully pouring it over the cheesecake filling layer, making sure to cover the surface evenly.
Step 4: Chill Until Set
Refrigerate your assembled dessert for at least 4 hours, ideally overnight, to allow everything to set firm and let the flavors meld beautifully. The chilling step is absolutely crucial for achieving those perfect, clean bars that hold together when sliced and offer a cool, refreshing bite.
How to Serve No-Bake Lemon Cheesecake Bars Recipe
Garnishes
Before serving, decorate the bars with dollops of whipped cream, fresh lemon slices, and a sprinkle of lemon zest for an appealing presentation that hints at the flavors inside. These garnishes add texture, brightness, and a touch of elegance, perfect for impressing guests or elevating a simple family dessert moment.
Side Dishes
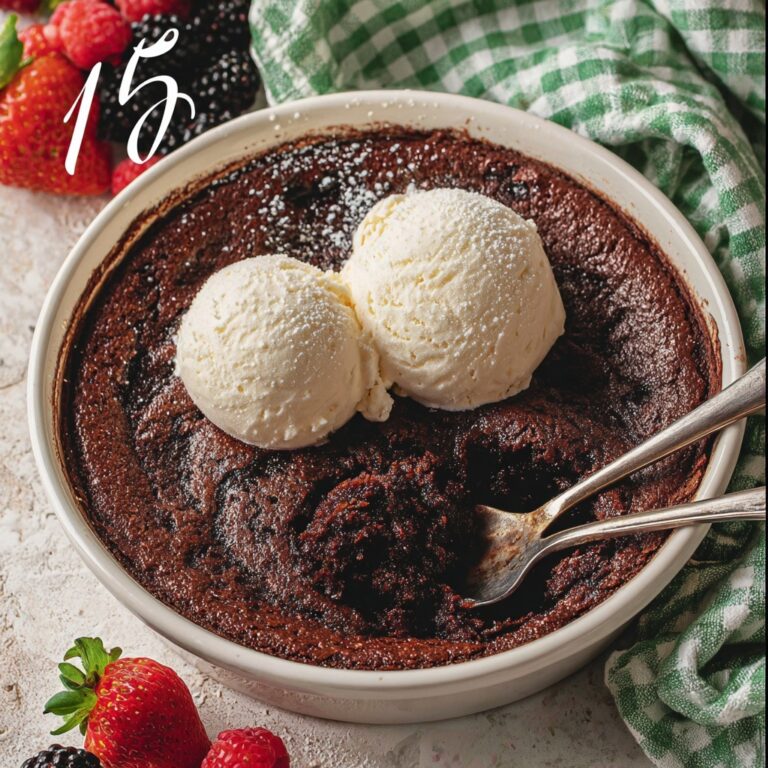
These cheesecake bars pair wonderfully with light, summery accompaniments like fresh berries, a scoop of vanilla ice cream, or even a crisp mint tea. The citrus tang in the bars contrasts beautifully with the sweetness or creates a refreshing finish alongside chilled drinks.
Creative Ways to Present
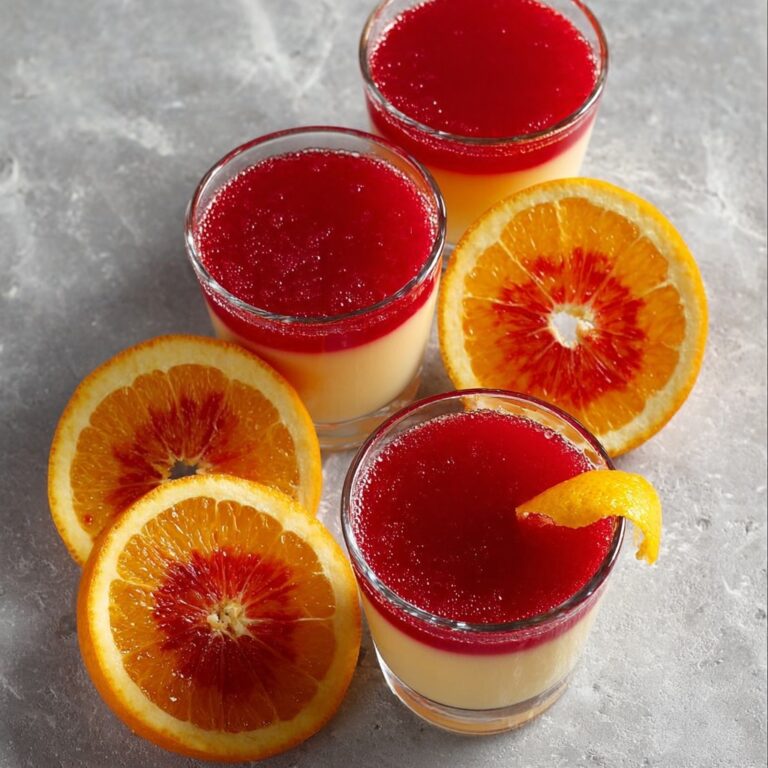
For a fun twist, serve the bars in individual clear glasses layered with crushed graham crackers and extra lemon filling, or top each bar with a drizzle of raspberry coulis for a pop of color and flavor complexity. You can even cut them into mini bites and garnish with edible flowers for a fancy party platter presentation.
Make Ahead and Storage
Storing Leftovers
Leftover No-Bake Lemon Cheesecake Bars stay fresh stored in an airtight container in the refrigerator for up to 4 days. Keeping them chilled maintains their perfect texture and flavor, so be sure to cover them well to prevent any fridge odors from seeping in.
Freezing
You can freeze these bars for longer storage by wrapping individual slices tightly in plastic wrap and placing them in a freezer-safe container. They freeze well for up to 2 months. When you’re ready to enjoy, thaw them overnight in the fridge to preserve their creamy consistency.
Reheating
Reheating isn’t recommended as these bars are best enjoyed chilled to maintain their structure and refreshing taste. Simply serve them straight from the fridge for the best experience.
FAQs
Can I use a different crust for this recipe?
Absolutely! While the graham cracker crust is classic, you can experiment with crushed digestive biscuits or even crushed pretzels for a salty-sweet twist. Just be sure to adjust the butter amount to keep the crust holding together well.
Is it possible to make this recipe vegan?
Yes, with some substitutions. Use vegan cream cheese and whipped coconut cream instead of dairy, and check that your crust ingredients fit a vegan diet. The lemon topping can stay the same as it contains no animal products.
How long do these bars need to chill?
The bars need to chill for at least 4 hours to set properly, but letting them sit overnight is even better for firm slices and flavor melding.
Can I prepare this recipe ahead of time for a party?
Definitely! This No-Bake Lemon Cheesecake Bars Recipe is ideal for prepping a day ahead or even two. Just keep it refrigerated until serving, and add garnishes fresh for best presentation.
What is the best way to cut these bars without crumbling?
Use a sharp knife warmed with hot water and wiped dry before slicing. This helps create clean cuts without cracking or sticking, ensuring your bars look as good as they taste.
Final Thoughts
There’s something truly special about this No-Bake Lemon Cheesecake Bars Recipe that makes it a standout for any occasion. It’s bright, creamy, and wonderfully easy to put together. Whether you’re treating yourself or delighting friends and family, these bars offer a perfect balance of flavors and textures that will keep everyone coming back for more. Trust me, once you try them, you’ll wonder how you ever enjoyed cheesecake any other way!
Print
No-Bake Lemon Cheesecake Bars Recipe
- Prep Time: 20 minutes
- Cook Time: 10 minutes
- Total Time: 4 hours 30 minutes
- Yield: 16 bars
- Category: Dessert
- Method: No-Cook
- Cuisine: American
Description
These No-Bake Lemon Cheesecake Bars offer a refreshing twist on classic cheesecake with a zesty lemon topping, all without needing to turn on the oven. Featuring a crunchy graham cracker crust, smooth and creamy lemon-flavored filling, and a tangy lemon glaze on top, they’re perfect for a quick, delightful dessert that sets in the refrigerator.
Ingredients
For the Crust:
- 2 cups graham cracker crumbs
- 1/2 cup unsalted butter, melted
For the Cheesecake Filling:
- 16 oz (2 packages) cream cheese, softened
- 1 cup powdered sugar
- 1 teaspoon vanilla extract
- 1 tablespoon lemon zest
- 1/4 cup lemon juice
- 1 cup heavy whipping cream, whipped to stiff peaks
For the Lemon Topping:
- 1/2 cup lemon juice
- 1/2 cup water
- 1/2 cup granulated sugar
- 2 tablespoons cornstarch
- 1 tablespoon lemon zest
For Garnish:
- Whipped cream
- Lemon slices
- Additional lemon zest
Instructions
- Prepare the crust: In a medium bowl, combine the graham cracker crumbs and melted butter. Mix well until the crumbs are evenly coated. Press the mixture firmly into the bottom of a 9×9-inch baking pan to form a compact crust. Place the pan in the refrigerator to chill while you prepare the filling.
- Make the cheesecake filling: In a large mixing bowl, beat the softened cream cheese until smooth and creamy. Gradually add the powdered sugar, continuing to beat until fully incorporated and smooth. Mix in the vanilla extract, lemon zest, and lemon juice. Gently fold in the whipped heavy cream until the mixture is light and fluffy. Spread this filling evenly over the chilled graham cracker crust and smooth the top with a spatula.
- Prepare the lemon topping: In a medium saucepan over medium heat, combine the lemon juice, water, granulated sugar, cornstarch, and lemon zest. Stir constantly as the mixture cooks until it thickens and becomes translucent, forming a glossy lemon glaze. Remove the saucepan from heat and allow the topping to cool slightly before pouring it evenly over the cheesecake filling.
- Chill the cheesecake bars: Place the assembled cheesecake bars back into the refrigerator and chill for at least 4 hours, or until the filling and topping are fully set and firm.
- Serve: Before serving, garnish the lemon cheesecake bars with dollops of whipped cream, fresh lemon slices, and additional lemon zest as desired. Cut into bars and enjoy this zesty, no-bake dessert.
Notes
- Make sure the cream cheese is softened to room temperature for smooth mixing.
- Whip the heavy cream to stiff peaks to achieve a light and airy cheesecake filling.
- Chilling time is crucial to allow the no-bake cheesecake to set properly.
- The lemon topping can be adjusted in sweetness by reducing or increasing the sugar.
- Store leftover bars in the refrigerator and consume within 3 days for best freshness.

